I created an interactive Site for Chandrayaan-3 - Case Study
Here, is the Video of the project:
Now, let’s start from the beginning. Nasa already has a website for its projects Curiosity. Where you can move the curiosity rover. It also has a landscape of mars where you can explore the surface of mars.
Site link : https://rover.coolhead.in
I was highly inspired by ISRO and how they pulled out such a great achievement. I wanted to build a similar project for ISRO. I tried to what i can build and deconstruct the project into smaller projects. The most important or complex thing was the movement of the rover. I have never done any 3d staff in Threejs. I was taking Threejs Journey, because why not. As if you are taking a course, you know the imposter syndrome that you get from watch staff. Untill and unless you build, get the validation, your confidence don’t really grow out of the bed.
I build some configurators like for shows, and T-shirts, watch some video.
Tech Stack :
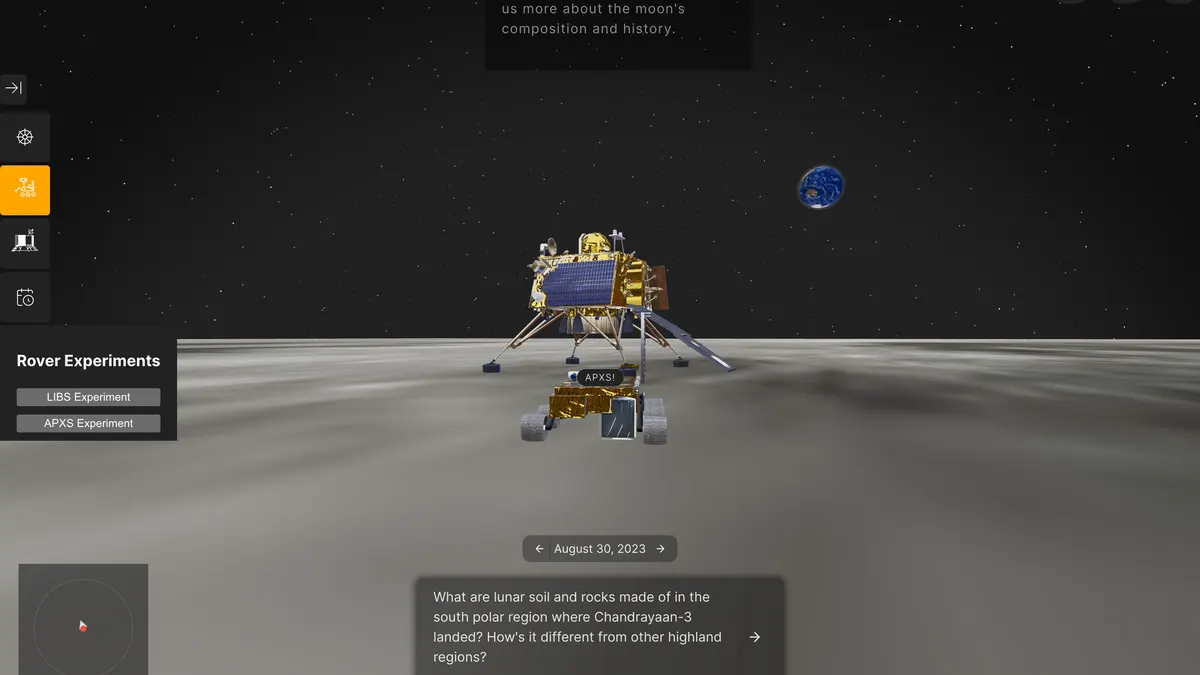
You can move the rover as well with ‘AWSD’ or arrows keys. Rover might blast off (its a bug).
Here the tech stacks :
-
Blender : modelling and animations
-
ThreeJs :- canvas based 3d renderer
-
R3F - react-three-fiber
-
Zustand - for state management
-
React spring - for simple animations like lander landing animation and few others
Used text to audio and wisper api of openai for created the subtitles like experience
-
React three rapier - for the physics engine.
-
React three XR - for the Augmented reality.
-
Figma: here the figma file for the project
The whole project is written in typescript, with react, python script for the subtitles sync thing.
Version One
Project Review:
Cons ( I tried to review myself):
-
Storytelling - 4/10
There is not much storytelling.
-
Flow: 5/10
Pieces don’t fit together. Too much effort to get to info.
-
Visual: 6/10
It does not look good.
Suggested Changes:
-
Create a Moon Surface, look good.
-
Instead of the Rover Driver thing, Focus on the State of the mission, and experiences.
-
For the Experiment States, it should be something that the experiment is taking place and report, and graphs are getting created.
-
For example, for the drilling experiment, you can add a graph with time and surface labels
-
Another example, of the lisp experiment you can show the elements that are discovered.
The Minimap
I showed the version one of the project to my designer friend, and she was lost. Like literally she didn’t know how to move to rover. Then my brother who is a game developer suggested me to add minimap. And well i didn’t know how to make minimaps.
I used useFBO, createPortal, new camera, and spirit. We will have ref for our rover and Vikram lander in zustand store, to get their location and rotation. We use spriteMaterial and display a cursor for the rover and a red dot for the vikram lander.
An FBO (or Frame Buffer Object) is generally used to render to a texture. This is useful for post-processing effects like blurring, or for rendering to a texture that will be used as a texture in a later draw call.
Here is an article by Maxime Heckel, on WebGL Render Targets and how cool it is.
https://blog.maximeheckel.com/posts/beautiful-and-mind-bending-effects-with-webgl-render-targets/
You should read it. It’s soo good. Maxime explanation are way better and are with examples.
In my case, i didn’t know about the article and i didn’t even know that we have to use WebGL Render Target to make a minimap.
Most of the feature is taken from react three fiber racing game: Repo
Animations
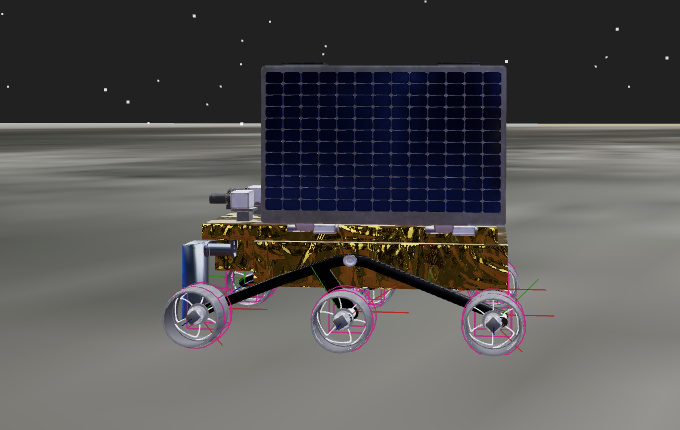
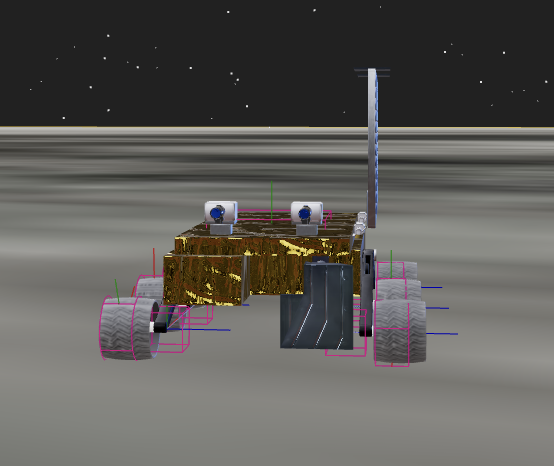
For the Model animation i used blender. I did try to make model myself. But i ended up buying the Model for chandrayaan and rover from sketchfab. Models are made by Abdurhman Aljagthami.
The Landing animation had too many pieces to work together. There are two rover in the project. One is linked with the landing animation. I just toggle the visibility between the two. If you know a better solution do let me know in comments.
Other animations of the instruments are just transforms. Transform the location, position, rotation and you get the animation. I did them with react-spring. I wanted them to be controlled. I just use a toggle to one and off the animations.
Rover Movement:
I used react-three-rapier. I had used react-three-rapier before. But didn’t know much about the Joints.
See: https://github.com/isaac-mason/sketches/tree/main/src%2Fsketches%2Frapier%2Frevolute-joint-vehicle - for the rover physics.
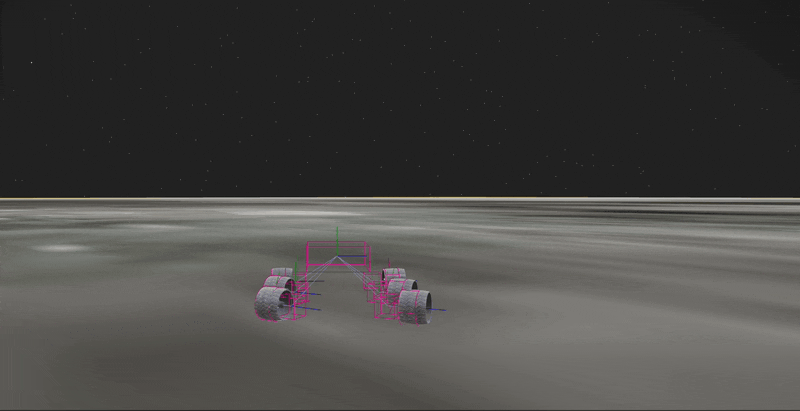
Wheels have a CylinderCollider attached with the axleJoint.
Chessis has a Rectangle Collider, with some mass.
I create a new gltf for the solarpanel, and then used react-spring for the rotate animation. You can click on the solar panel and it will close and open. It was the first interactive animation that i made, and just used the same thing for the instruments on the Lander as well.
Controls: I used useKeyboardControls from @react-three/drei and Joystick from react-joystick-component packages. For movement and rotation, use the configureMotorVelocity and configureMotorPosition .
You can read more about Joints here:
https://rapier.rs/docs/user_guides/javascript/joints/
Camera State:
Previously i used two cameras and would change them based on state, activeRover. In the version two, i was able to use one camera. Also, i added lerp animation for the camera position. We have to store the camera postion, lookat, and create a json for your camera states.
here, is a good example.
Version Two :
I wanted to know from strangers, so shared it on Reddit. Most of the people on Reddit show affection and really appreciated the effort.
-
Some people gave really good feedback like add earth in the background. Improve the UI design overall.
-
Add links so that people can learn more about the experiments done in Chandrayaan mission.
-
Add Audio for the experiment explanation
-
I used OpenAI wispher to sync audio with text, the subtitle effect was mostly inspired by the previous project that i have made in remotion.
Final Version:
-
I removed the dust smoke trail effect that i added for the pragyan rover, you can see the version 1 video for that.
-
I added a linear radial background from center with css, which really create a highlight on the rover.
-
I remove 2nd Camera View, and kept the Minimap.
-
Improved the Content with some feedback.
-
I added some Post Processing Effects.
-
Improve the Blender Animation
-
Improve the Camera States
-
Added AR button, click and you can add models in your environment
Conclusion:
There was nothing new. Just connect different dots and resources. I tried a few things. Remove a few things. Tinker around and things work sometimes.